Installing Kali Linux for Your Lab
Security and Pentest Home Lab Environment
🚀 Kali Linux Installation Module
In this module, we’ll install Kali Linux. This VM will also be used in the next module to complete the pfSense setup.
⬇️ Download Kali Linux
Go to the official Kali Linux website and download the 64-bit Recommended Installer:
https://www.kali.org/get-kali/#kali-installer-images
The file is around 4GB, so download time may vary.
Once complete, you’ll have an .iso file.
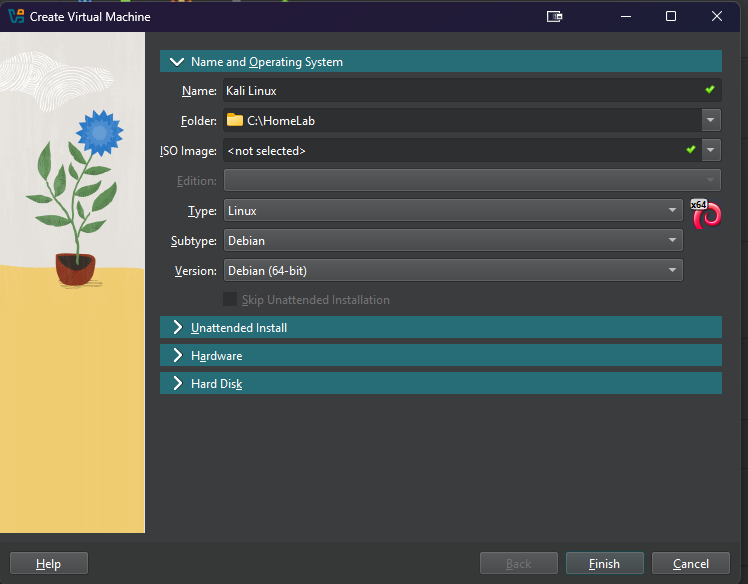
🖥️ Create Kali Linux VM
- Open VirtualBox and click New in the toolbar.
- Name the VM, choose a storage location, and leave the ISO image option empty.
- Set:
- Type:
Linux - Version:
Debian (64-bit)
- Type:
- Click Next.
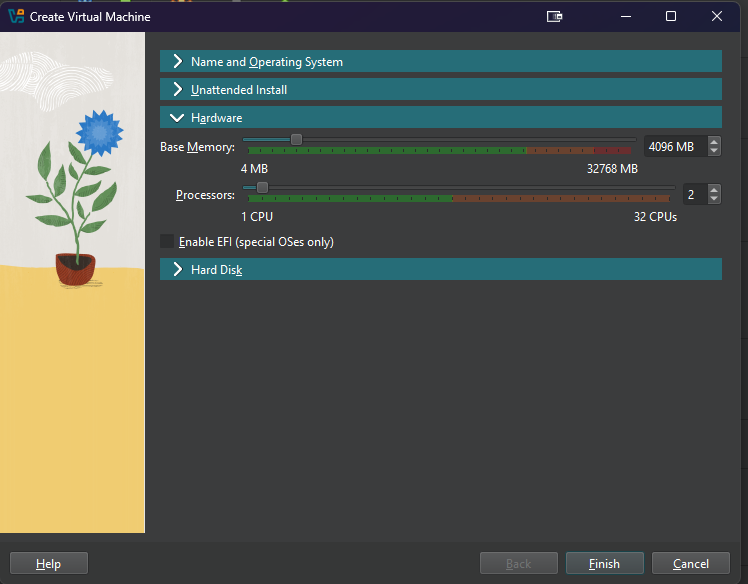
- Keep default settings (unless you prefer KDE and have the resources). Click Next.
- Set disk size to
80GBand click Next.
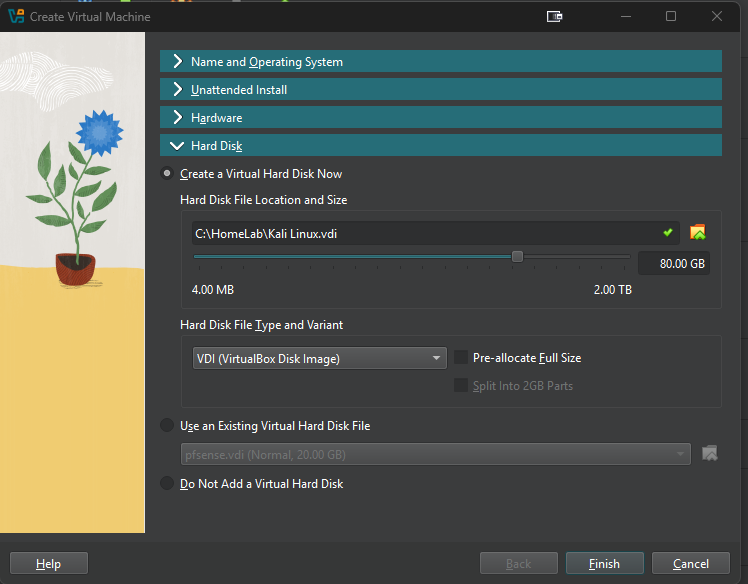
- Review and click Finish.
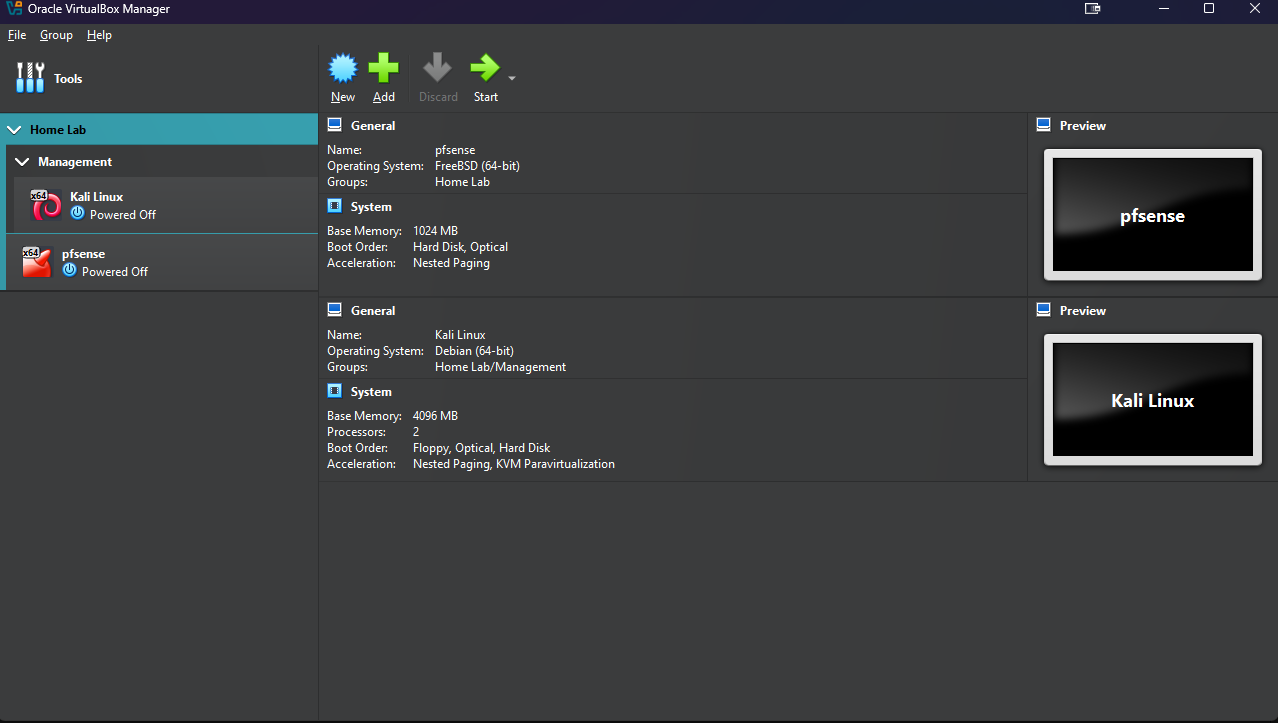
🗂️ Organize VMs in Groups
- Right-click the Kali Linux VM → Move to Group → [New]
- Rename group to
Management.
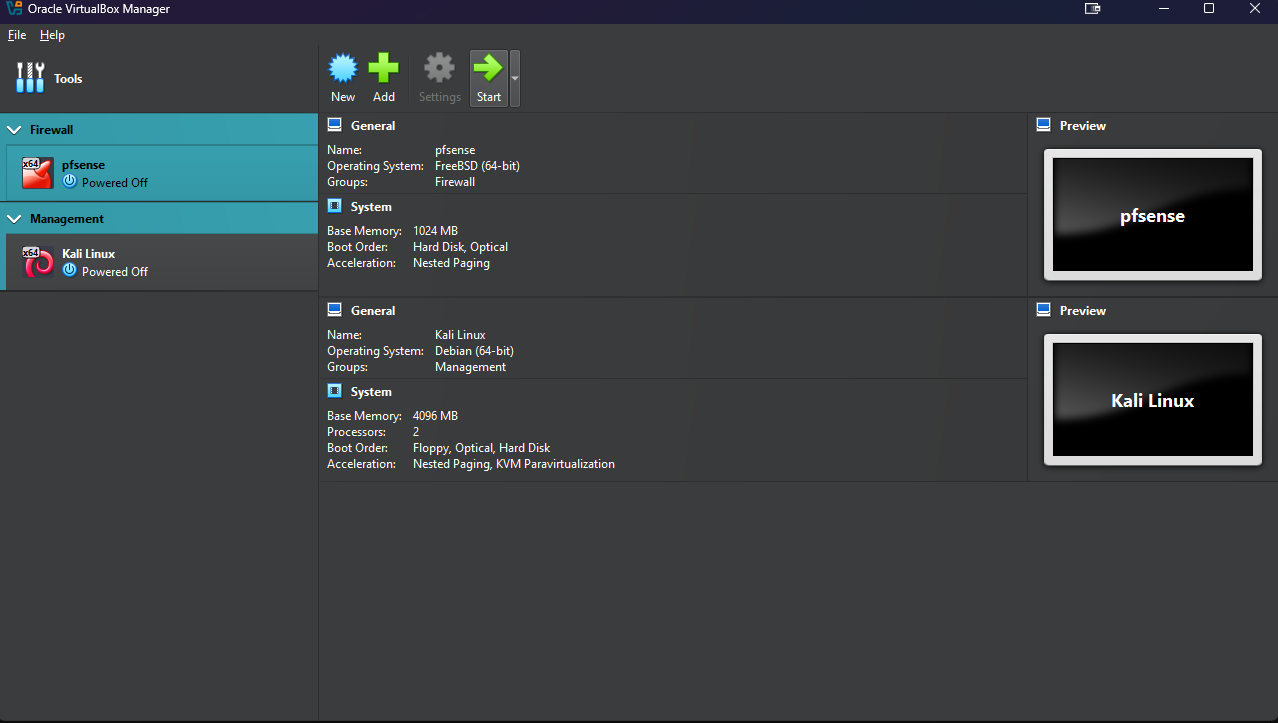
- Create another group for firewall VM: select both groups (
Ctrl+Click), right-click → Move to Group → [New] - Rename to
Home Lab.
⚙️ Configure Kali Linux VM Settings
- Select Kali Linux VM → Settings
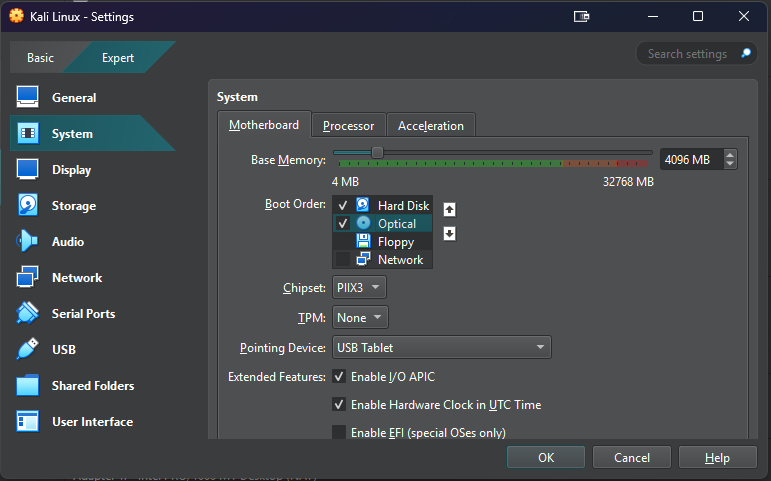
- In System → Motherboard:
- Boot Order: Hard Disk (top), then Optical
- Uncheck Floppy
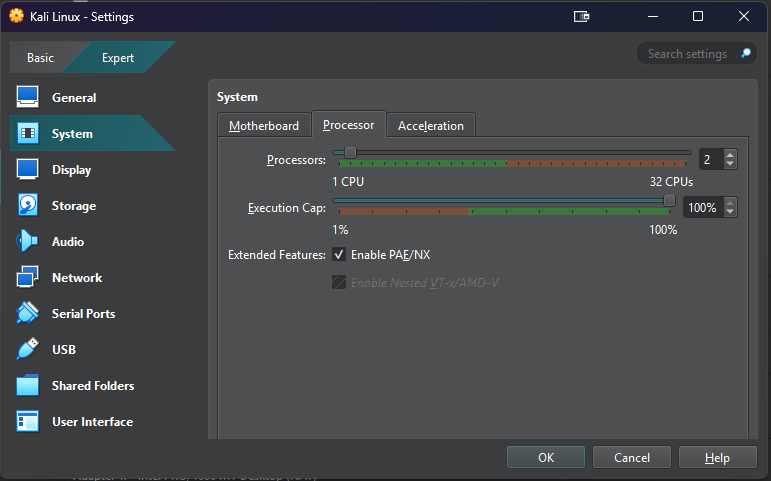
- In System → Processor: Enable
PAE/NX.
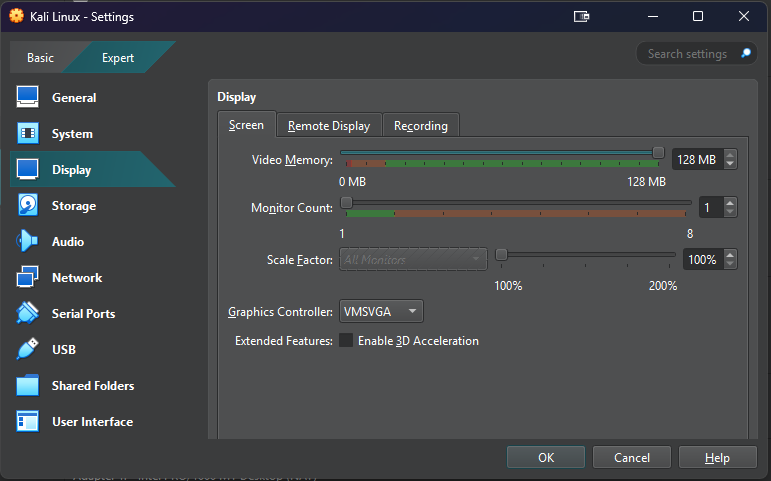
- In Display → Screen: Increase Video Memory to
128 MB.
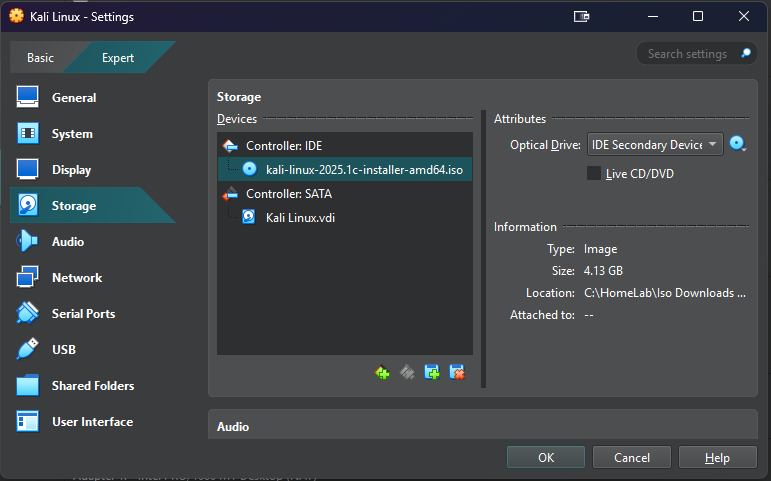
- In Storage:
- Click empty disk under
Controller: IDE - Click disk icon on the right → select downloaded Kali
.iso
- Click empty disk under
🌐 Network Configuration
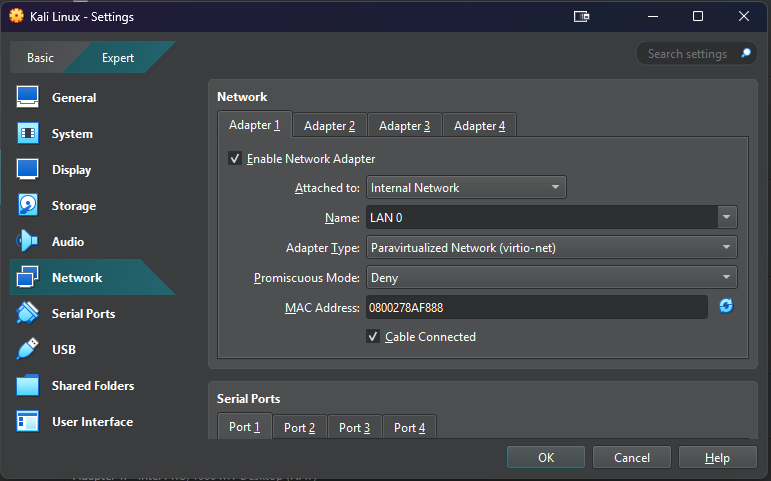
- Go to Network → Adapter 1
- Attached to:
Internal Network - Network Name:
LAN 0 - Adapter Type:
Paravirtualized Network (virtio-net)
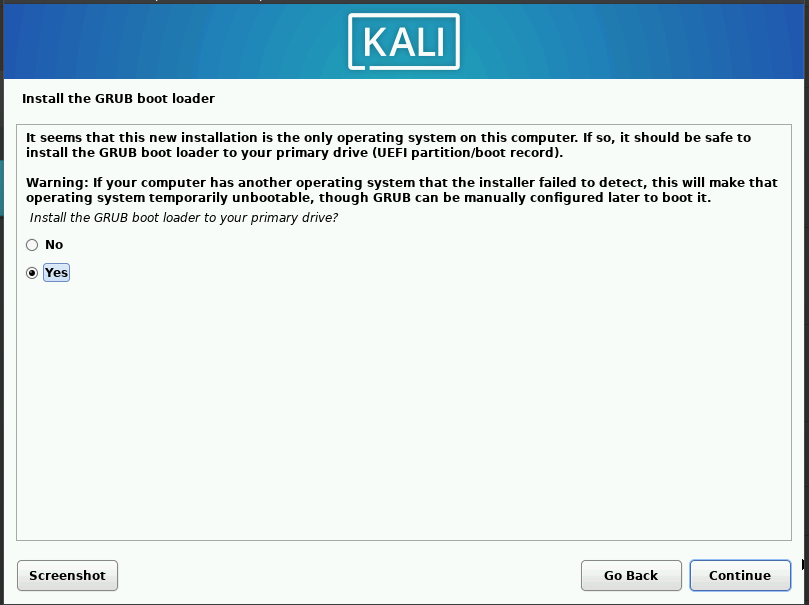
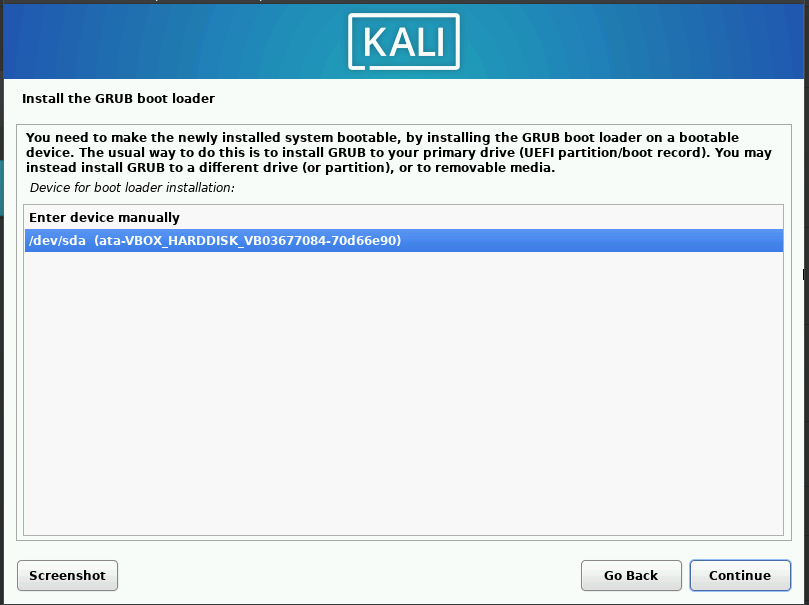
🛠️ Install Kali Linux
Warning:
Make sure your pfSense VM is running before starting Kali installation.
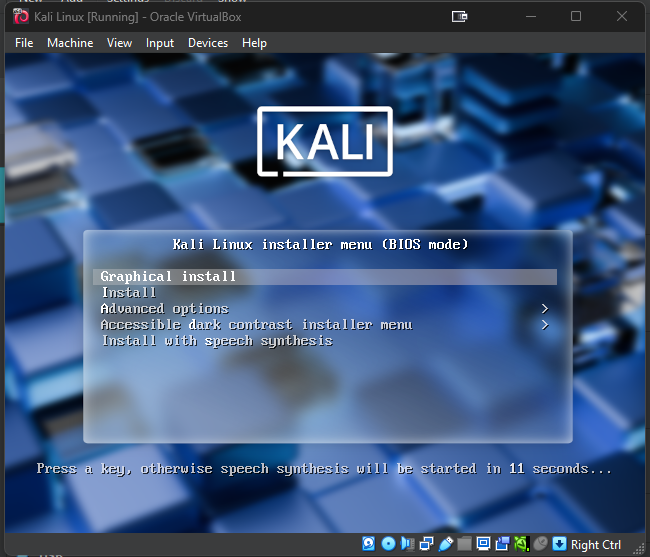
- Select Kali Linux VM → Click Start
- In installer menu, choose Graphical Install
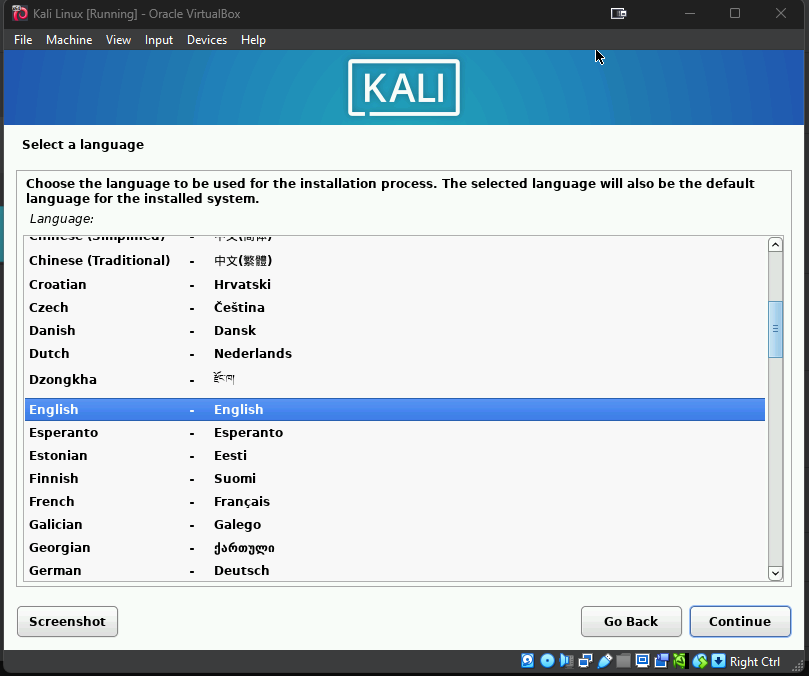
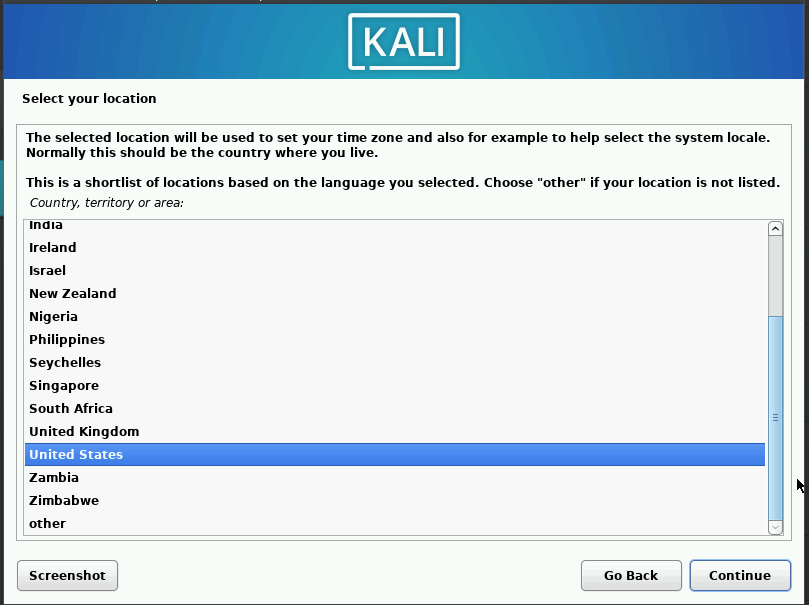
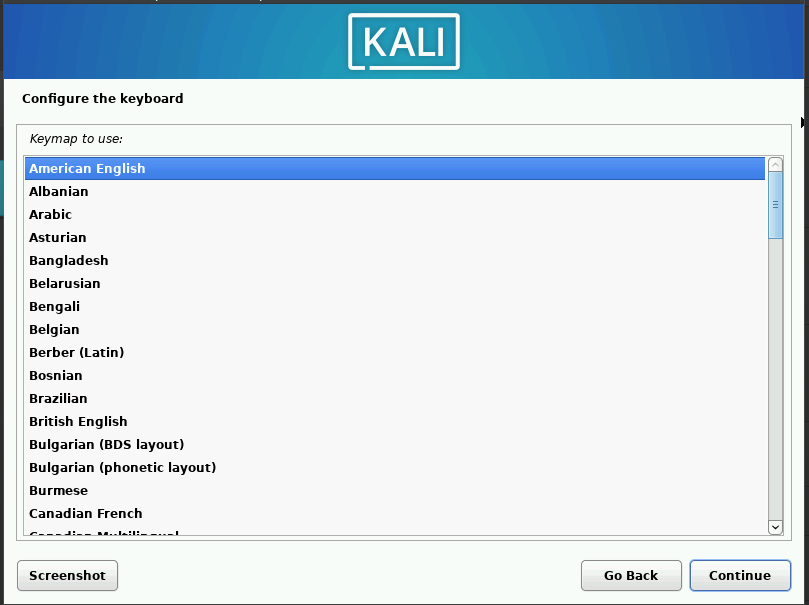
- Choose your language, location, and keyboard layout.
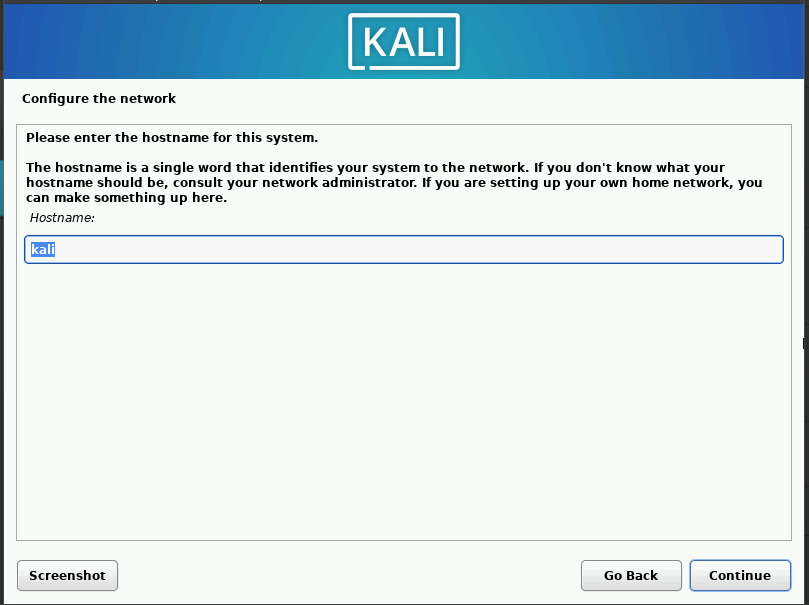
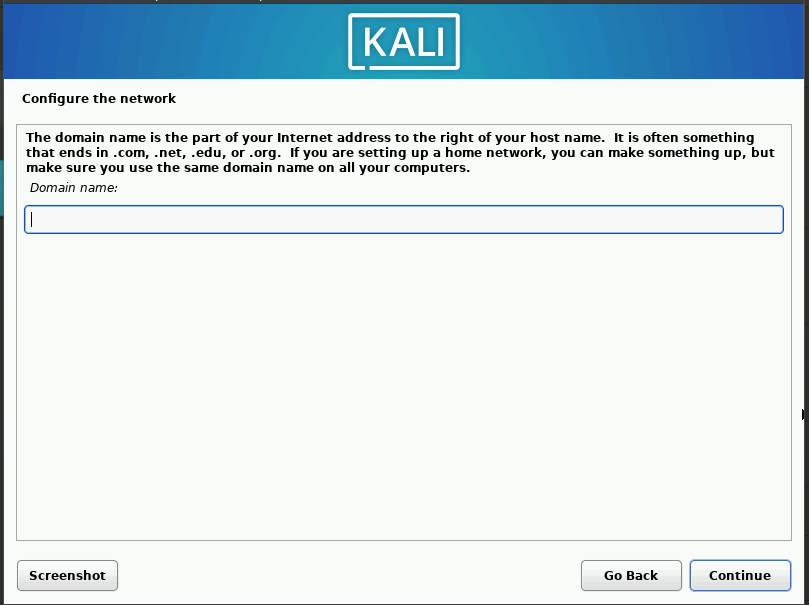
- Enter hostname (changeable later), leave domain empty, continue.
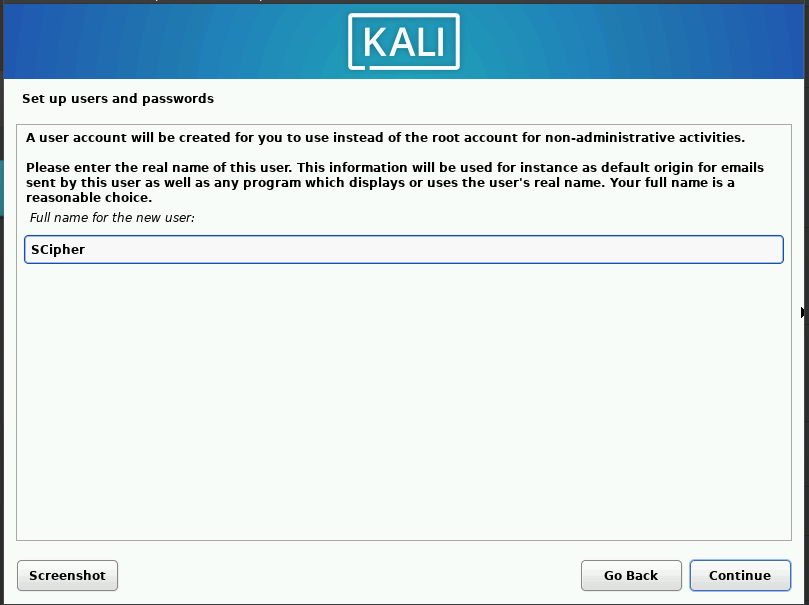
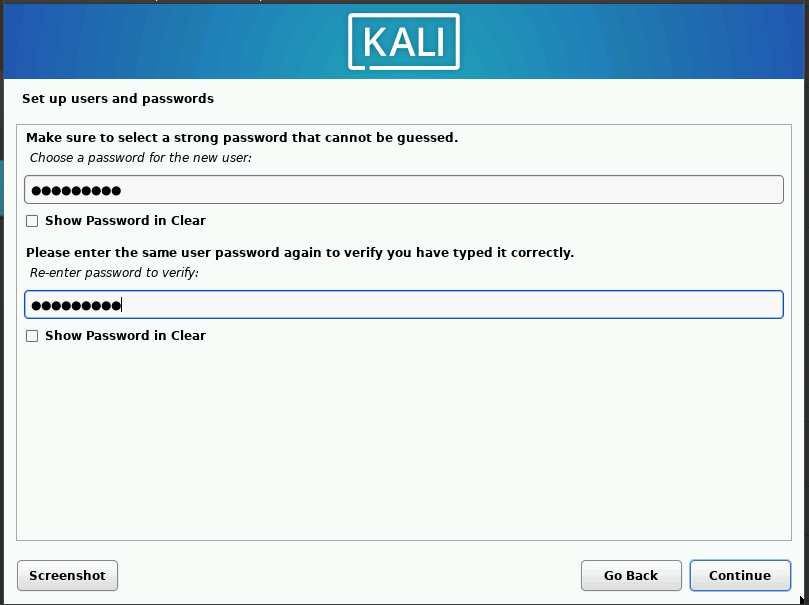
- Set username and password for login.
Choose timezone and continue.
Select disk (usually
sda) and continue.
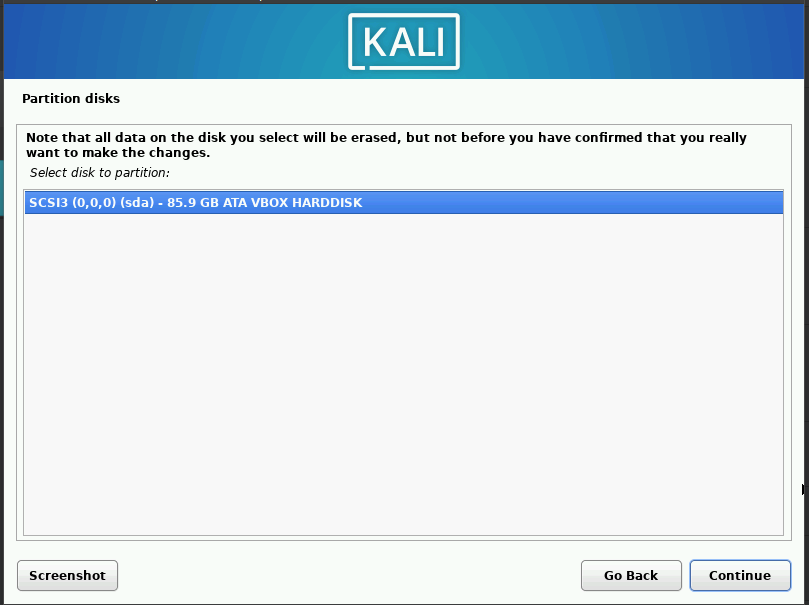
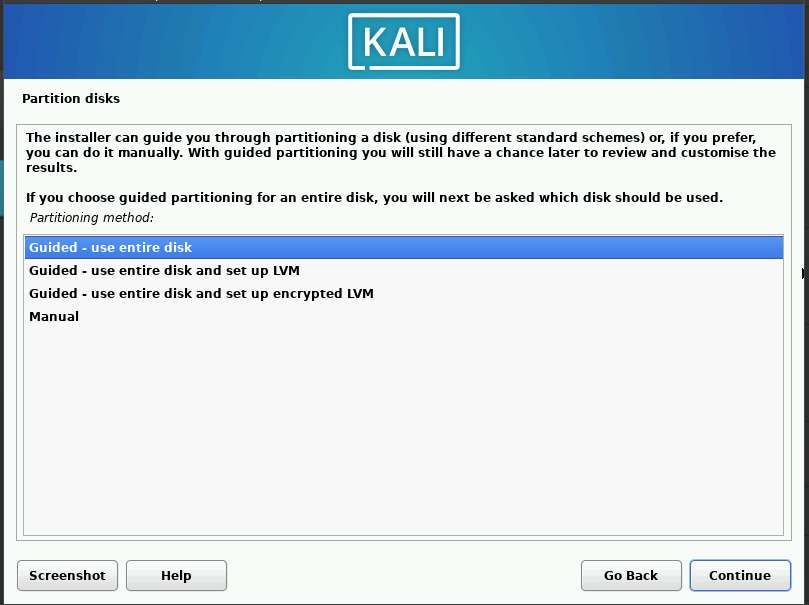
- Choose Guided - use entire disk → continue.
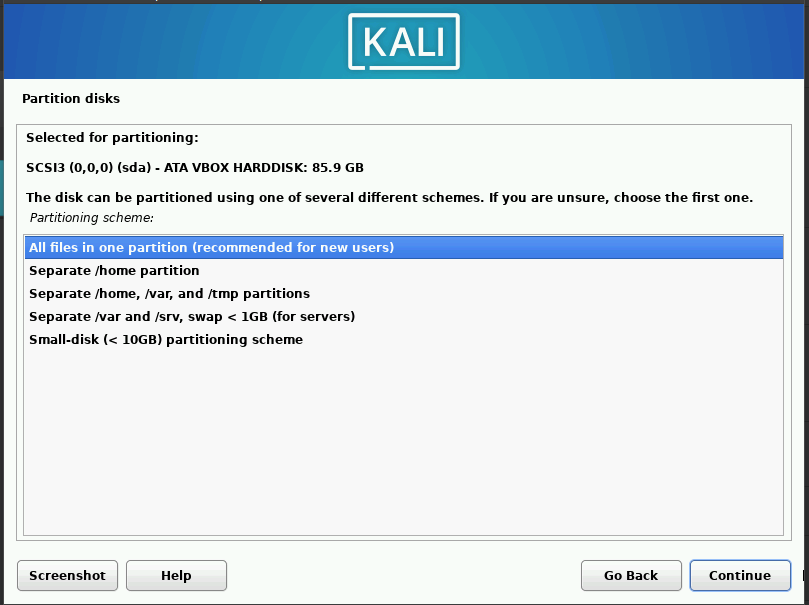
- Choose All files in one partition → continue.
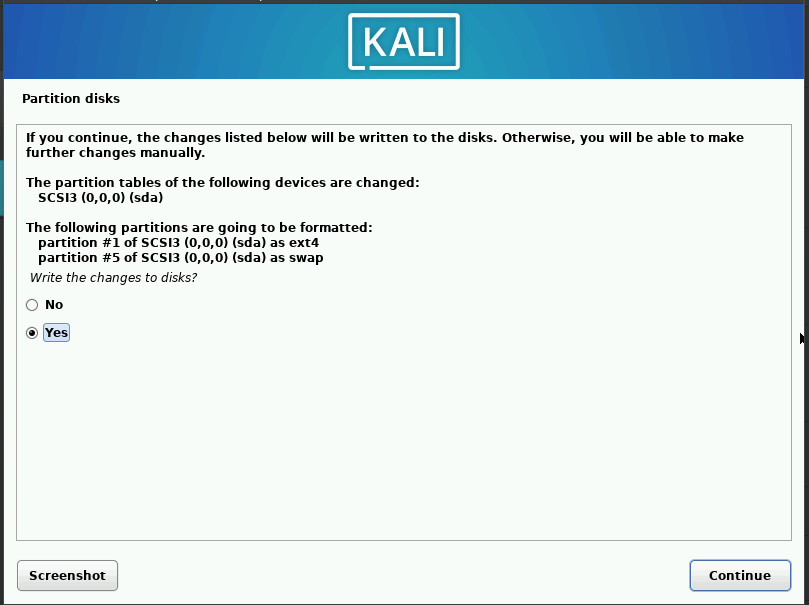
- Confirm partition changes → continue.
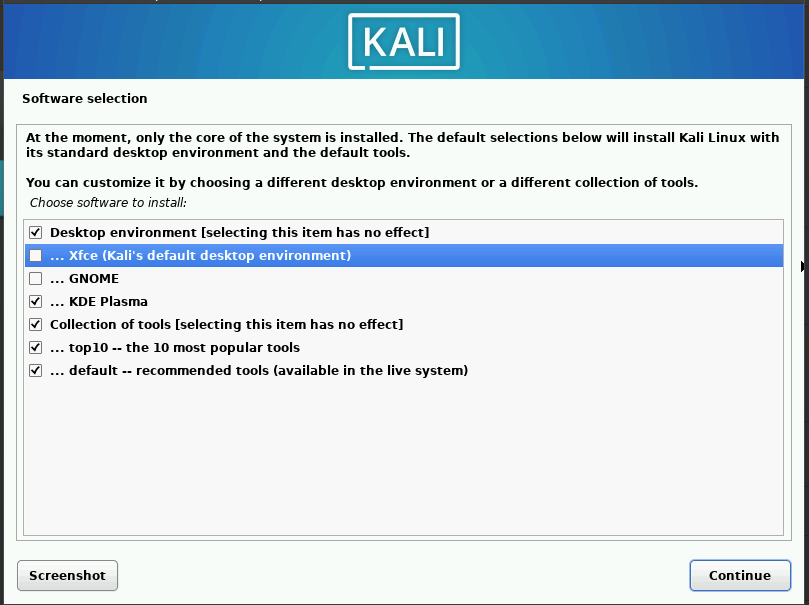
- After base install, choose desktop environment:
GNOME: visually richXFCE: lightweight and fastKDE Plasma: feature-rich, needs ≥ 2 cores & 4GB RAM
- Wait for install to finish → click Continue to reboot.
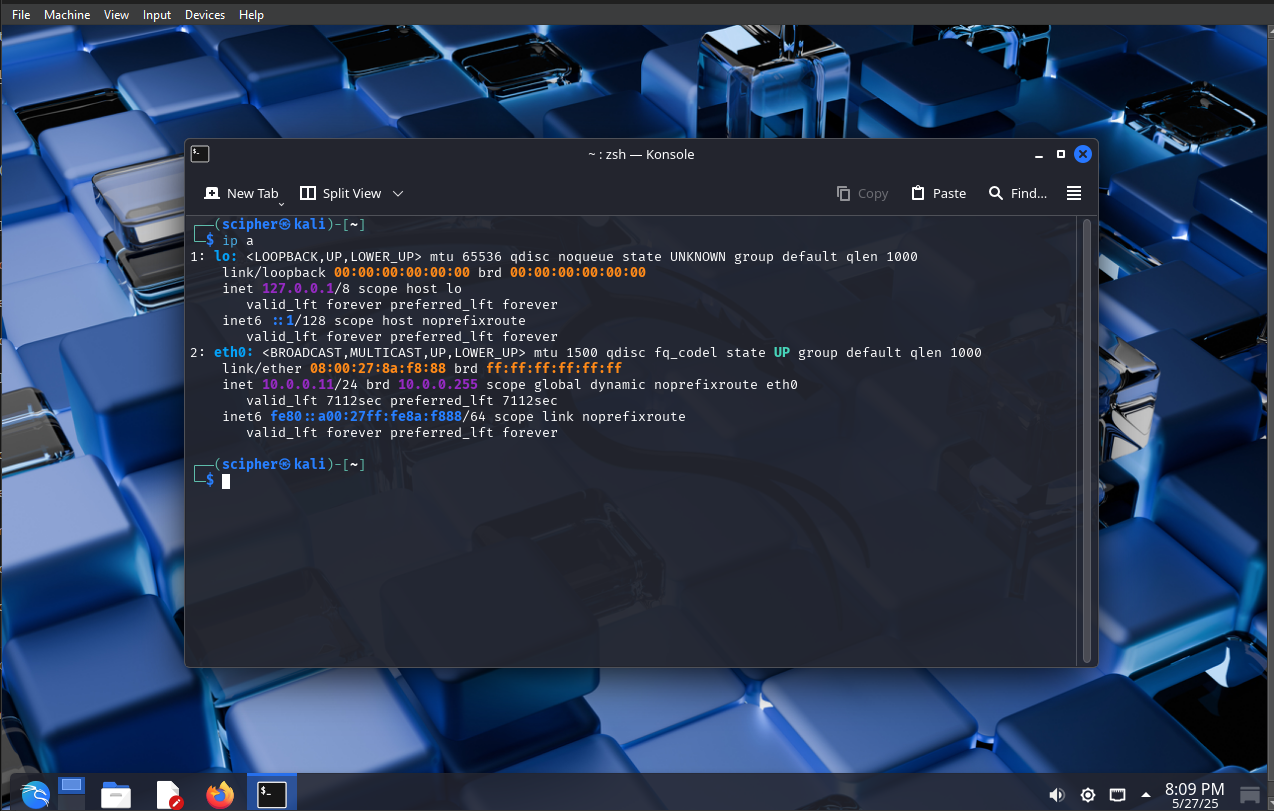
🔑 Log In & Final Setup
- After reboot, enter your password at login.
Kali Linux auto-installs Guest Additions in VM.
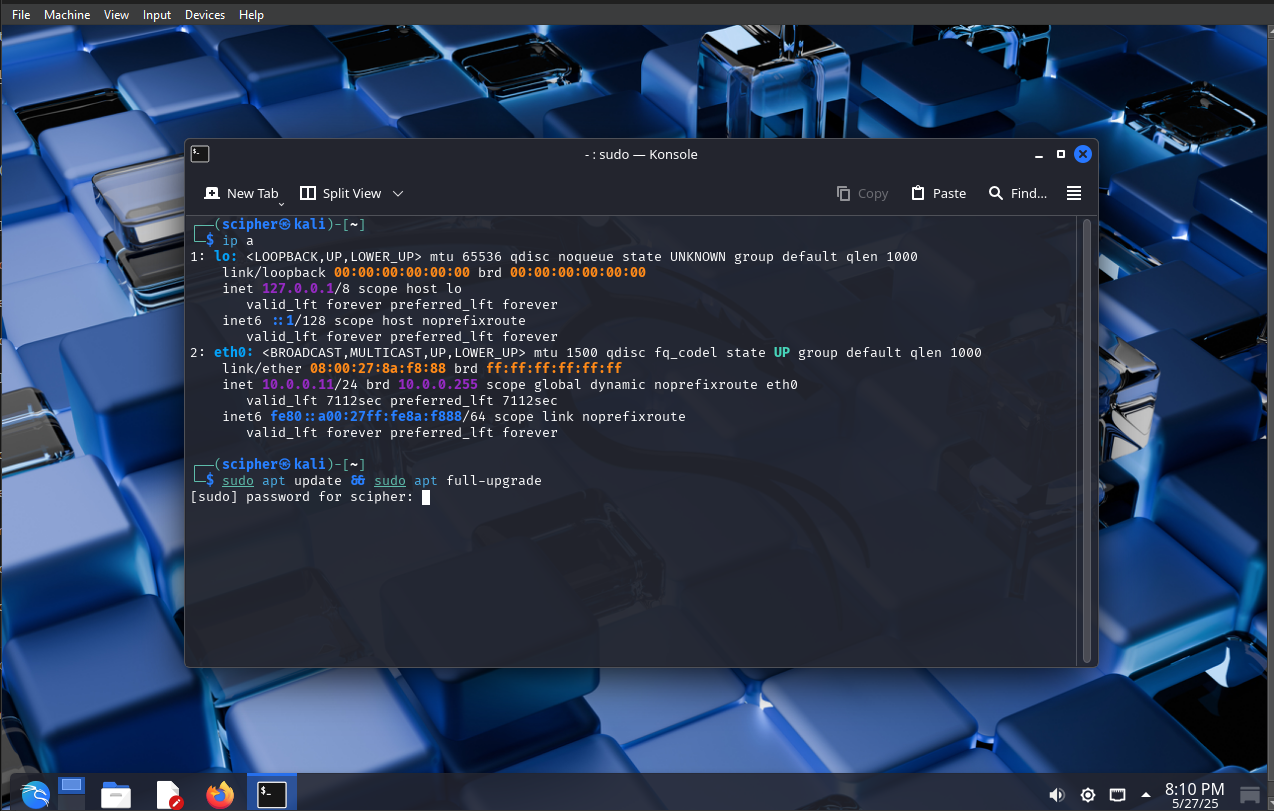
Press
Right Ctrl + Ffor fullscreen toggle.Open Terminal, run:
1
ip a
🌀 Update Kali Linux
Open the Terminal and run the following command to update your system:
1
sudo apt update && sudo apt full-upgrade
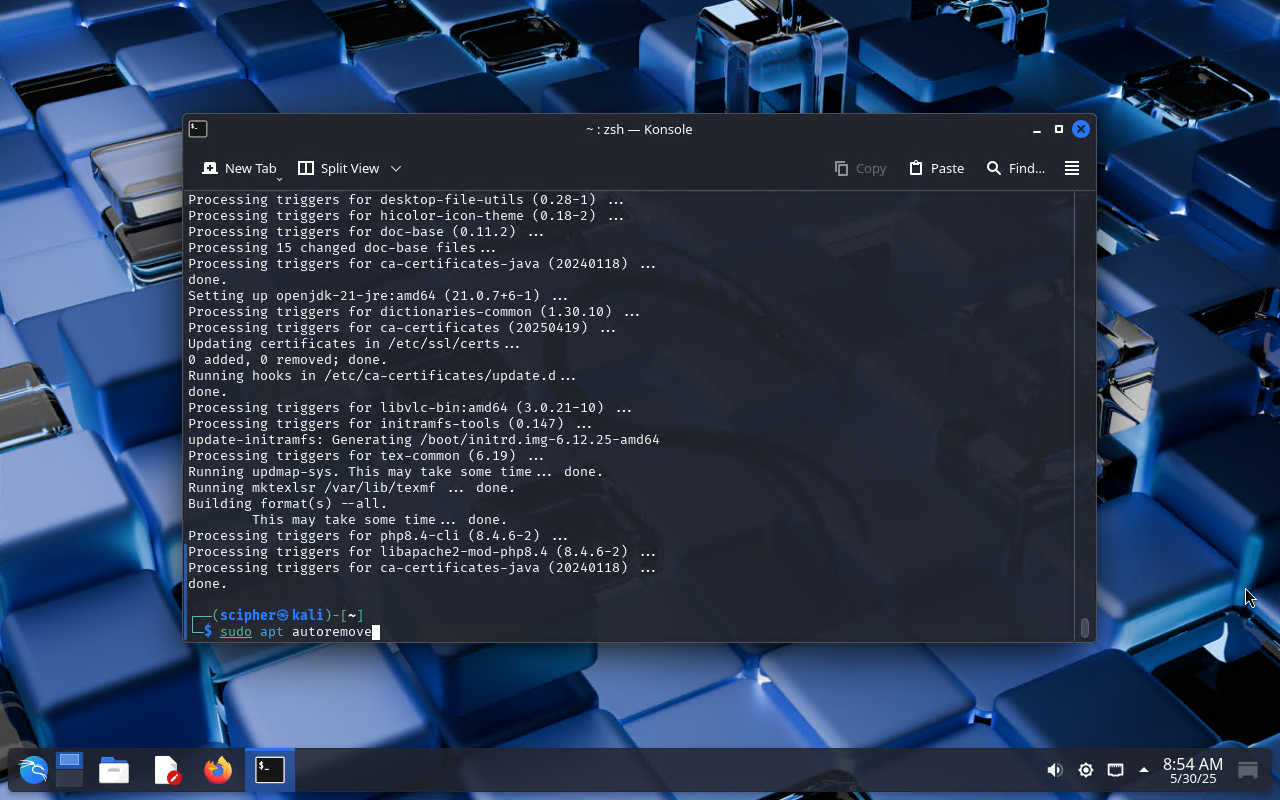
When prompted, type Y to continue the update.
After the update, run the command to remove unused packages:
1
sudo apt autoremove
Troubleshoot Black Screen on Boot
If you see a black screen after booting Kali Linux, it might be related to a recent update. This issue can appear randomly.Try changing the “Graphics Controller” to
VBoxSVGAin Settings → Display → Screen.Another fix is to power off the VM and restart it. You may need to restart it 2–3 times for it to work properly.
In the next module, we will access the pfSense Web UI and complete the remaining configuration.